
Installing a drill bit in a DeWalt drill is a straightforward process that requires attention to safety. Before starting, ensure the drill is turned off or locked in the neutral setting to avoid accidents.
Following the proper procedures is crucial for safe and effective drill bit installation. This article will guide you through the steps to securely install a drill bit in your DeWalt drill, helping you to achieve professional results.
Key Takeaways
- Ensure the drill is turned off before changing the drill bit.
- Follow the manufacturer’s guidelines for drill bit installation.
- Understand the importance of securing the drill bit properly.
- Learn the steps to safely install a drill bit in a DeWalt drill.
- Achieve professional results with a properly installed drill bit.
Understanding Your DeWalt Drill Types
To effectively use a DeWalt drill, it’s essential to first understand the type of drill you’re working with. DeWalt offers a range of drills, including cordless and corded models, each with its unique features and applications.
Common Types of DeWalt Drills
DeWalt drills are available in various models, catering to different tasks and user preferences. The most common types include:
- Cordless drills, which offer portability and convenience
- Corded drills, providing consistent power and reliability
- Hammer drills, designed for heavy-duty applications such as drilling into masonry
- Right-angle drills, ideal for tight spaces and precision work
Key Features of Each Model
Each DeWalt drill model comes with its own set of features that enhance its functionality and user experience. For instance, cordless drills often feature adjustable torque settings and LED lights for improved visibility. Corded drills, on the other hand, are known for their consistent power output. Understanding these features is crucial for selecting the right drill bit and ensuring a successful drilling operation.
Key features to look out for include:
- Adjustable torque settings for precision control
- LED lights for illuminating the work area
- Ergonomic design for reduced fatigue
- High-capacity batteries for extended runtime in cordless models
By familiarizing yourself with the specific features of your DeWalt drill, you can optimize its performance and achieve better results in your projects.
Preparing for the Drill Bit Insertion
To ensure a smooth drilling experience, preparation is key. Before you begin, it’s essential to understand the steps involved in preparing your DeWalt drill for a new bit.
Proper preparation not only enhances the performance of your drill but also significantly reduces the risk of accidents. This involves gathering the necessary tools and adhering to safety guidelines.
Gather Necessary Tools
To change the drill bit in your DeWalt drill, you’ll need a few basic tools. These typically include the new drill bit, a chuck key if your drill has a keyed chuck, and possibly a cloth for cleaning.
- A new drill bit suitable for your task
- A chuck key (for keyed chucks)
- A cloth for cleaning the chuck and bit
Having these tools ready will streamline the process and ensure that you can efficiently change the bit.
Safety Precautions to Consider
Safety should always be your top priority when working with power tools like your DeWalt drill. Always wear protective eyewear to safeguard against debris that might be ejected during the drilling process.
“Safety is not just a precaution, it’s a practice that saves lives.”
Additionally, ensure that loose clothing is tied back, and avoid wearing jewelry that could get caught in the drill. It’s also a good practice to keep your workspace clean and clear of clutter.
| Safety Measure | Description | Importance Level |
|---|---|---|
| Protective Eyewear | Wear safety glasses or goggles | High |
| Clothing and Jewelry | Tie back loose clothing and avoid jewelry | Medium |
| Workspace | Keep the workspace clean and clear | High |

By following these guidelines, you’ll be well-prepared to insert a new drill bit into your DeWalt drill safely and efficiently.
Different Types of Drill Bits
Choosing the correct drill bit is essential for the success of your project, whether you’re drilling into wood, metal, or concrete. Drill bits are designed to serve specific purposes, and understanding their differences is key to achieving the desired outcome.
Standard Drill Bits
Standard drill bits, often referred to as twist bits, are the most commonly used type. They are versatile and can be used for drilling into various materials, including wood, metal, and plastic. The design features a spiral flute that helps in removing material as you drill.
Key characteristics of standard drill bits include:
- Versatility in drilling various materials
- Spiral flute design for efficient material removal
- Available in a range of sizes
Specialty Bits for Specific Tasks
Specialty drill bits are designed for specific tasks or materials. For instance, masonry bits are used for drilling into concrete or brick, while spade bits are ideal for drilling large holes in wood.
The following table highlights some common specialty drill bits and their applications:
| Drill Bit Type | Application | Material |
|---|---|---|
| Masonry Bit | Drilling into concrete or brick | Concrete, Brick |
| Spade Bit | Drilling large holes | Wood |
| Forstner Bit | Drilling flat-bottomed holes | Wood |
| Step Drill Bit | Drilling holes of varying sizes | Metal, Wood |
By understanding the different types of drill bits and their applications, you can ensure that you’re using the right tool for the job, making the process easier and more efficient.
For DeWalt drill users, knowing how to insert these bits correctly is crucial. The easy way to insert drill bit dewalt involves ensuring the chuck is clean and following the manufacturer’s guidelines for bit insertion. Similarly, understanding dewalt drill bit installation tips can enhance your drilling experience by ensuring that bits are securely and correctly installed.
Steps to Insert a Drill Bit
The process of putting a drill bit in a DeWalt drill involves a few simple steps that differ based on whether your drill has a keyed or keyless chuck. Understanding the type of chuck on your DeWalt drill is crucial for correctly inserting the drill bit.
For Keyless Chucks
DeWalt drills with keyless chucks offer the convenience of changing drill bits without additional tools. To insert a drill bit into a keyless chuck, follow these steps:
- Hold the drill firmly with one hand and use your other hand to twist the chuck counterclockwise. This loosens the chuck’s grip.
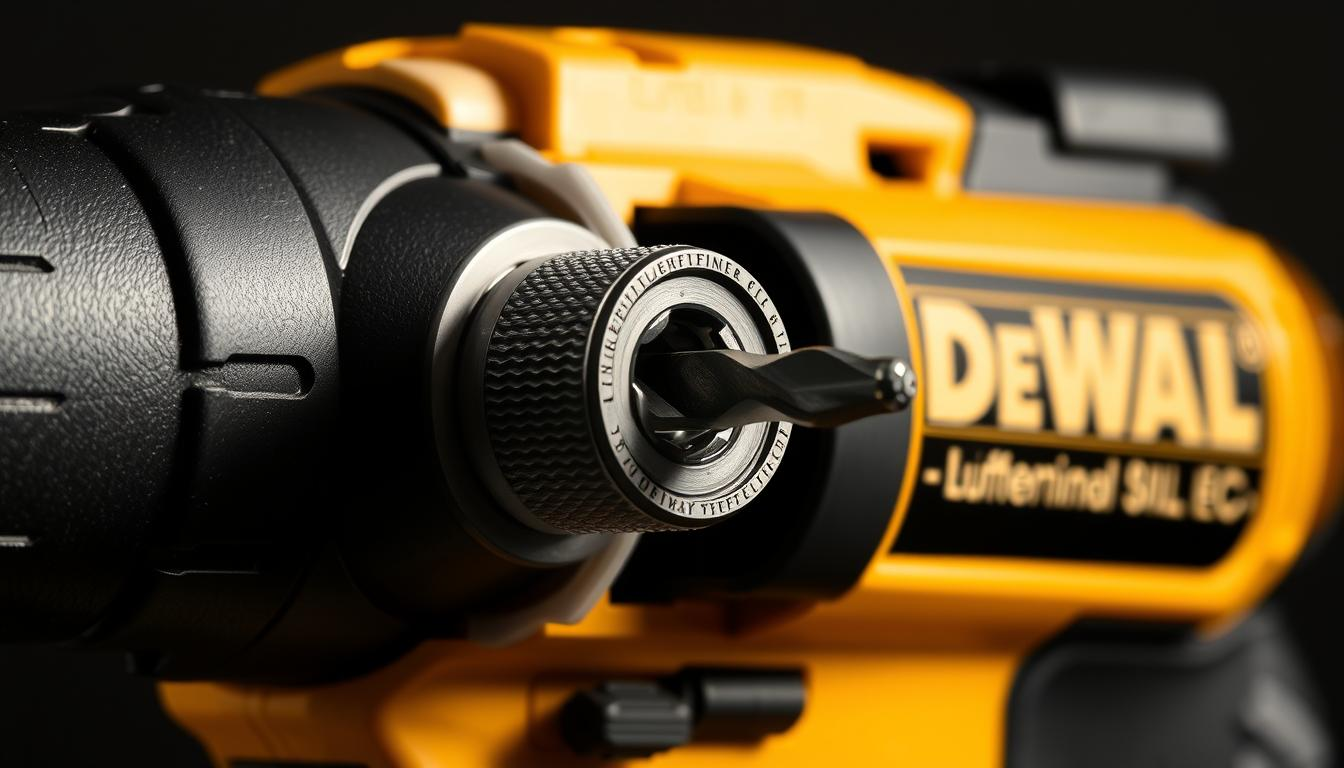
- Once the chuck is loose, insert the drill bit into the chuck, ensuring it’s seated properly.
- Twist the chuck clockwise to tighten it around the drill bit. Make sure it’s snug but avoid over-tightening.

For Keyed Chucks
For DeWalt drills equipped with keyed chucks, a chuck key is required to secure or release the drill bit. Here’s how to do it:
- First, locate your chuck key. It’s usually stored on the drill or in a designated place in your toolbox.
- Insert the chuck key into the hole on the chuck and turn it counterclockwise to loosen the jaws.
- With the jaws loose, insert your chosen drill bit into the chuck, making sure it’s properly seated.
- Tighten the chuck by turning the chuck key clockwise. Ensure it’s snug to prevent the bit from slipping during use.
For a more detailed visual guide, you can refer to a dewalt drill bit tutorial video that demonstrates these steps clearly.
By following these steps, you’ll be able to insert a drill bit into your DeWalt drill correctly, whether it has a keyed or keyless chuck. Remember, the key to successful drilling is not just the right drill bit but also ensuring it’s properly secured in the chuck.
Ensuring the Bit is Secure
After successfully inserting the drill bit into your DeWalt drill, the next crucial step is to ensure it is securely fastened. A loosely fitted drill bit can lead to inaccurate drilling, damage to the drill, or even safety hazards. Therefore, it’s essential to follow a few simple steps to guarantee the bit is held firmly in place.
Check for Proper Tightness
To verify that the drill bit is properly tightened, you should first understand the type of chuck your DeWalt drill is equipped with. For keyed chucks, use the chuck key to tighten the jaws around the drill bit. Insert the key into the chuck and turn it clockwise until it is snug. For keyless chucks, hand tighten by holding the chuck in place and turning the collar clockwise until it stops.
It’s crucial not to overtighten, as this can damage the chuck or the drill bit. However, undertightening can lead to the bit slipping during operation. Find the right balance to ensure the bit is secure.
Testing the Bit Stability
Once you’ve tightened the chuck, test the drill bit’s stability by gently tugging on it. If it feels loose, further tightening is necessary. For keyless chucks, you can also check by running the drill at a low speed; if the bit wobbles, it needs to be tightened more.

By following these steps, you can ensure that your drill bit is securely in place, ready for safe and effective drilling. Regularly checking the tightness of the drill bit, especially after changing bits or after a period of storage, is a good practice to maintain.
Troubleshooting Common Issues
DeWalt drill bit problems, such as loose bits or difficult insertion, can be addressed through simple troubleshooting steps. Understanding the causes of these issues is key to resolving them effectively.
Bit Not Holding Firmly
If your drill bit is not holding firmly in the chuck, it could be due to wear and tear on the chuck or the bit itself. Inspect both the chuck and the bit for any signs of damage.
- Check the chuck for any debris or dirt that might prevent the bit from being securely held.
- Ensure the bit is properly seated and tightened according to the manufacturer’s instructions.
Tip: Regularly cleaning the chuck can prevent many issues related to bit stability.
Difficulty in Inserting the Bit
Difficulty in inserting the drill bit can often be attributed to the bit not being aligned properly with the chuck or the presence of debris.
| Issue | Possible Cause | Solution |
|---|---|---|
| Bit not aligning with chuck | Misalignment or debris | Clean the chuck and ensure proper alignment |
| Bit not inserting smoothly | Damage to the bit or chuck | Inspect and replace damaged parts |

By following these troubleshooting steps, you can resolve common issues related to DeWalt drill bits, ensuring a smoother drilling experience.
Maintenance Tips for Longevity
To ensure your DeWalt drill operates at its best, regular maintenance is crucial. Proper care not only extends the lifespan of your drill but also ensures it continues to perform optimally.
Cleaning the Chuck Regularly
The chuck is a critical component of your DeWalt drill, and keeping it clean is essential for smooth operation. Regularly cleaning the chuck helps prevent debris buildup, which can cause the drill bit to slip or become stuck.
- Use a soft brush to remove any visible dust or debris.
- Dampen a cloth with water and gently wipe down the chuck.
- Avoid using harsh chemicals or abrasive materials that could damage the chuck.
Inspecting Drill Bits for Wear
Inspecting your drill bits regularly is vital for maintaining your DeWalt drill’s performance. Worn-out bits can lead to poor drilling results and increased strain on the drill.
| Inspection Criteria | Action Required |
|---|---|
| Visible wear or damage | Replace the drill bit |
| Bit not drilling straight | Check for proper alignment or replace the bit |
| Excessive vibration | Balance the bit or replace if necessary |
As
“A well-maintained tool is a safe tool,”
regular inspection and maintenance are not just about performance but also about safety.
By following these maintenance tips, you can significantly extend the lifespan of your DeWalt drill and ensure it continues to operate effectively. Regular cleaning and inspection are simple yet effective ways to keep your drill in top condition.
Additional Accessories for Your DeWalt Drill
DeWalt drills are incredibly versatile, and with the right accessories, you can unlock their full potential. Expanding your toolkit with additional accessories, such as comprehensive bit sets and drill attachments, can enhance the versatility and functionality of your DeWalt drill.
Bit Sets Worth Considering
A comprehensive bit set is an essential accessory for any DeWalt drill owner. These sets usually include a variety of bits for different tasks, such as drilling through wood, metal, or drywall. According to DeWalt’s official recommendations, “investing in a high-quality bit set can significantly improve the performance and longevity of your drill.”
Some popular bit sets worth considering include:
- Titanium-coated bits for durability
- High-speed steel bits for general-purpose drilling
- Masonry bits for drilling through concrete or brick
Drill Attachments for Enhanced Functionality
Drill attachments can greatly enhance the functionality of your DeWalt drill, allowing you to perform a wider range of tasks. As noted by a
‘leading power tool expert’, “the right attachments can transform your drill into a multi-tool, capable of handling various tasks from sanding to grinding.’
Some useful attachments to consider include:
- Rotary sanding drums for smoothing surfaces
- Right-angle attachments for drilling in tight spaces
- Drill-to-driver attachments for converting your drill into a driver
By incorporating these accessories into your toolkit, you can maximize the potential of your DeWalt drill and tackle a variety of projects with ease.
Conclusion: Mastering Your DeWalt Drill
Mastering the use of a DeWalt drill involves understanding its operation, safely inserting drill bits, and maintaining the tool and its accessories. By following the steps outlined in this guide, you can confidently insert a drill bit into your DeWalt drill.
Key Steps to Drill Bit Insertion
To successfully put a drill bit in your DeWalt drill, ensure you have selected the correct type of drill bit for your task, prepared your workspace, and followed the specific steps for your drill’s chuck type. Refer to the previous sections for detailed instructions on dewalt how to put in drill bit and understanding your DeWalt drill’s features.
Practicing for Proficiency
As with any skill, practice is essential to becoming proficient in using your DeWalt drill. Regularly practicing the dewalt drill bit installation guide steps will help you become more comfortable and confident in your ability to safely and effectively use your drill.